
Vinyl gives builders no cover. Put it down over a screed that is still carrying moisture, dust, ridges, or weak patches, and the floor starts advertising every shortcut. The surface may look neat on day one. A few weeks later the blisters show up, the seams start to part, and the clean finish turns into a report on what was skipped below it.
Thin vinyl is a brutal test of the substrate. It creates the polished look clients want, then reflects every hump, crack, trowel mark, and bit of grit sitting under it. If the screed was rushed, the floor puts the mistake under better lighting.
The shortcut starts below the finish
Public sector work in particular is strict. Vinyl is supposed to go onto a screeded surface that is dry, clean, sound, and properly prepared, with the installer following the product manufacturer’s instructions. SANS practice around screeds and concrete floors comes down to the same demand: the base must be ready before the finish goes down.
On site, that usually gets ignored in familiar ways. A slab is still damp, but the programme is tight, so the crew primes and sticks anyway. A screed has a slight wave to it, but the floor layer decides the vinyl will “take care of that.” Dust from sanding is left behind because someone is in a hurry. A cheap adhesive is used where the tile system calls for something more specific. None of that sounds dramatic at the start, but it becomes expensive later.
A proper screed for vinyl should be fully cured, hard to the touch, free of friable material, and level enough that a 3 metre straightedge does not reveal more than about 3 mm of deviation. Moisture needs checking too. A common benchmark is less than 75% relative humidity in the screed or roughly 2.5% moisture by carbide bomb testing. Under ideal conditions, curing can run to about 28 days for every 25 mm of thickness, and weather, slab density, and site conditions can slow everything down.
Moisture turns into failure
The first failure is usually hidden. Moisture trapped under an impermeable vinyl layer has nowhere to go. It sits in the screed and starts working on the adhesive from below. The glue softens, emulsifies, or loses bond strength. Once that bond weakens, the vinyl begins to bubble, lift at the edges, or open at the joints.
Damp screed goes under vinyl, sealing in moisture. The adhesive loses grip, and the finish starts to move. People notice the movement before they notice the cause.
If the screed is still alkaline because it has not cured properly, the damage can be faster. Cementitious substrates release alkalinity while they harden, and many vinyl adhesives do not enjoy that environment. The floor may hold briefly, then fail in patches, often where traffic, sun, or heat loads the surface most heavily. In a kitchen, passage, or reception area, the first visible trouble usually appears where the eye goes every day.
Dust and roughness do their damage too
Moisture gets the blame because it is obvious. Dust is just as destructive and more boring, which is why it often wins. A dusty screed gives adhesive something weak to cling to. The glue bonds to the powder instead of the substrate, then the powder releases under load. The result is delamination, loose edges, and tiles that start to sound hollow long before they lift.
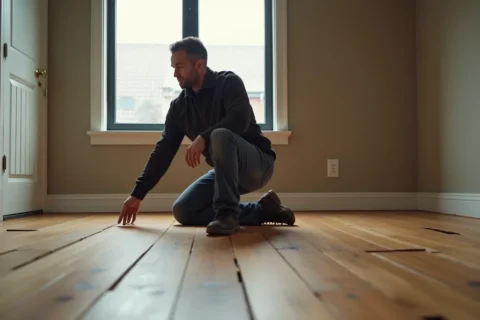
Minor surface irregularities are equally unforgiving. A ridge left by a trowel, a shallow depression, a tiny stone that was never removed, all of it can telegraph through sheet vinyl and thin luxury vinyl tile. On a thick ceramic tile, a small imperfection may be forgiven. On vinyl, it becomes a visible line, bump, or shadow. The floor ends up looking tired before the furniture has even arrived.
This is where the material earns its reputation. Vinyl can flatten a room visually, but it also acts like a magnifying glass over the slab. Builders who assume the finish will disguise the substrate are usually the same people who end up explaining why the new floor looks old.
Cracks and movement find their way through
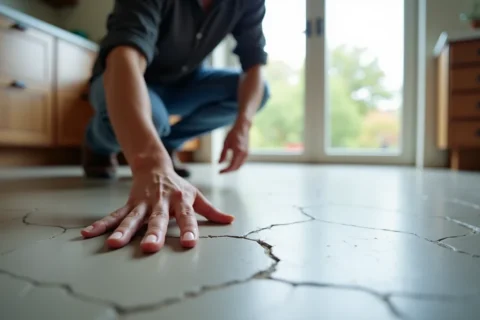
Unevenness is only part of the problem. If the screed is unstable, cracked, or poorly bonded to the slab, the vinyl inherits that movement. LVT joints begin to open. Sheet vinyl can split along stress lines. Small movements in the base become visible at the surface, sometimes as gaps, sometimes as lifted corners, sometimes as a seam that refuses to stay closed no matter how many times it is rolled back down.
A floor becomes a maintenance problem instead of a finish. Once movement starts, every repair is temporary unless the underlying issue is fixed. Re-gluing a lifted patch does nothing if the screed is still damp or cracked beneath it. The same fault simply returns in a different place.
Trapped moisture under vinyl can create conditions for mould and mildew. That brings odour, staining, and a new argument between contractor, client, and supplier about who should have tested what before the floor was laid.
The repair bill is always higher than the shortcut
The economics are ugly because the cheapest decision happens first and the costly one happens later. Removing failed vinyl is labour-heavy and slow, especially when adhesive has broken down into a stubborn residue. The research pack puts removal around R50 to R150 per square metre in late 2023 and early 2024 pricing. If the screed needs a moisture barrier, that can add roughly R100 to R300 per square metre. Levelling compounds can run from about R150 to R400 per square metre for a 3 to 5 mm application. If the screed is too far gone and has to be rebuilt, re-screeding can land around R200 to R500 per square metre before the new finish even comes back into the conversation.
A floor budget gets doubled or tripled by one bad call at installation stage. The client pays once for the original vinyl, then again to lift it, again to repair the screed, and again for the replacement floor. If the adhesive failure spreads across a large area, the labour bill can look more painful than the material.
For builders, this is the part that gets remembered: the programme delay, the angry call from the site, the patchwork demo that ate a week, the floor that looked cheap to install and expensive to defend.
What should be checked before vinyl goes down
The screed needs to be treated as the real floor.
Dryness comes first
Do not trust appearance alone. A screed can look ready and still hold enough moisture to ruin a vinyl system. Test it properly, then record the result. If the floor has not reached the moisture level the adhesive and vinyl system require, wait.
Flatness needs a straightedge
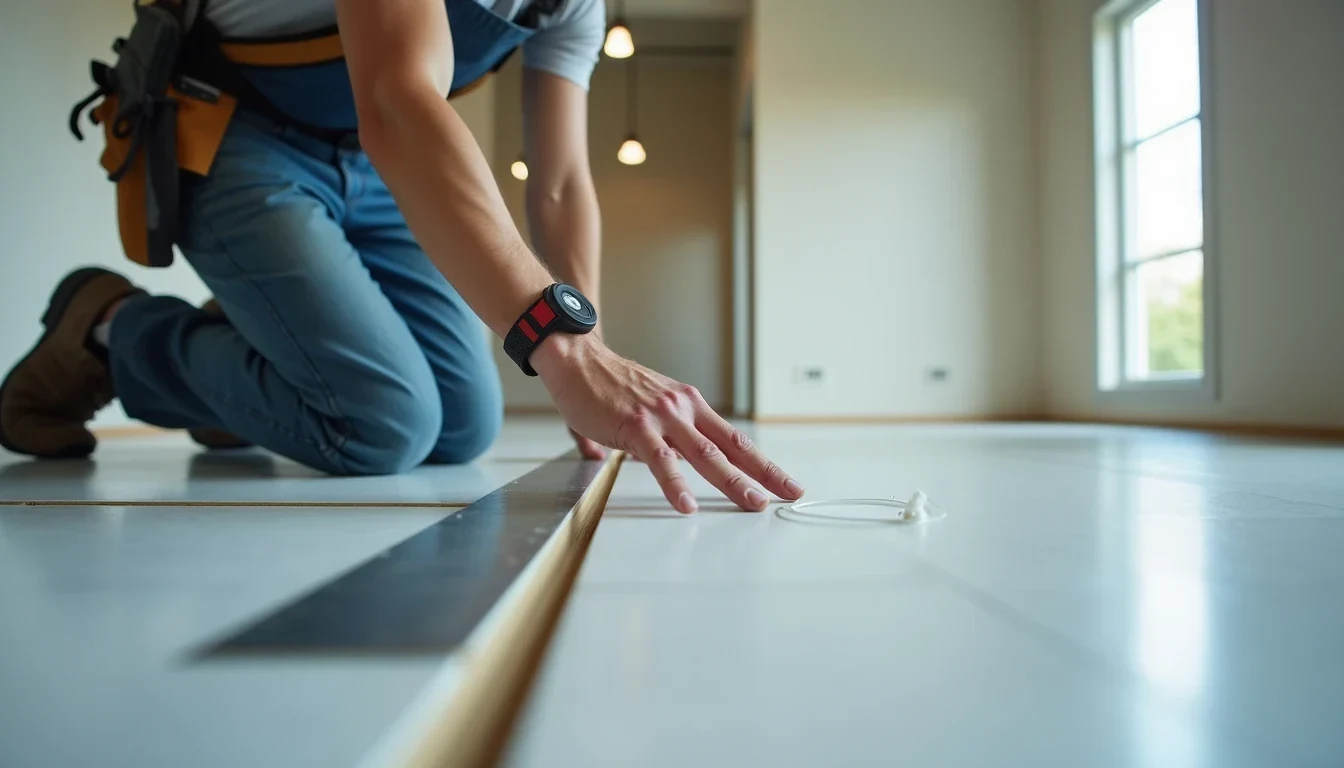
A quick visual check is not enough. Lay a 3 metre straightedge across the room in several directions. If the floor shows more than about 3 mm of variation, correct it before the vinyl arrives. Sheet vinyl and thin planks will expose the problem immediately.
Cleanliness is non negotiable
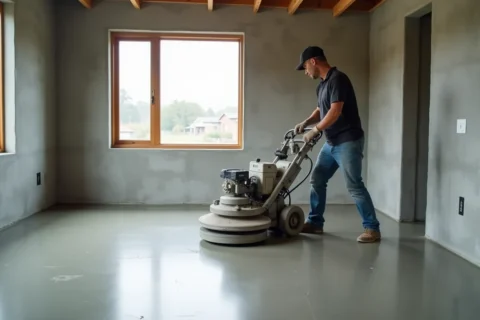
Vacuum, do not just sweep. Remove dust, laitance, paint, plaster droppings, grease, and curing residues. Adhesive wants a clean mineral surface, not a layer of site debris.
pH should stay in range
Fresh or poorly cured cementitious screeds can be too alkaline. Most vinyl adhesive systems want a neutral to slightly alkaline surface, roughly pH 7 to 9. Outside that range, the bond can deteriorate early.
The adhesive must match the floor system
A generic glue is not a plan. The adhesive has to suit the vinyl type, the substrate, the moisture conditions, and the manufacturer’s data sheet. If the product calls for a specific primer, moisture barrier, or trowel size, use it.
The floor only looks simple
Vinyl is popular because it gives a clean finish without the visual noise of tile grout or timber grain. That simplicity is exactly why it punishes bad screed work. It shows every line under the surface and every compromise in the prep. A careful screed gives vinyl a proper stage. A rushed one turns the whole floor into a confession.
What to specify before the order
- Dry screed verified by moisture testing, not by guesswork
- Clean, dust-free, cured surface before adhesive goes down
- Flatness within about 3 mm under a 3 metre straightedge
- No visible cracks, friable patches, laitance, or contamination
- Adhesive and primer matched to the vinyl manufacturer’s instructions
- pH checked before installation
- Written sign-off from the contractor before the floor is laid