

A fresh coat of Plascon or Dulux on a damp wall is the most expensive temporary decoration you can buy. The paint goes on clean and even, the room looks finished, and everyone involved feels satisfied for about three to six months. Then the bubbling starts at the skirting board, the powdery white bloom creeps through the new film, and the dark tide mark reappears exactly where it sat before. The problem was never the paint. The problem was that nobody found the water before opening the tin.
Start With What You Can See
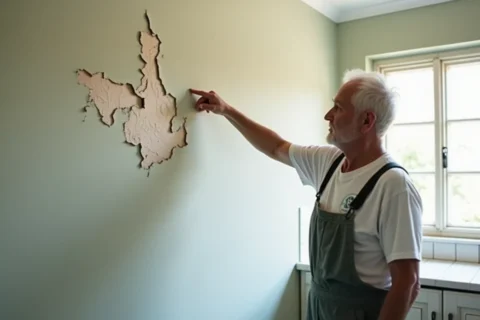
The pattern of damage on a wall is the first honest witness. Rising damp climbs through masonry by capillary action and typically declares itself in a continuous band from the floor up to one metre, sometimes one and a half metres. Look for the horizontal tide mark, that distinct line where evaporation leaves its signature. Below it, plaster softens and paint blisters. Above it, the wall is usually dry. Efflorescence, those white crystalline salt deposits, confirms the diagnosis: groundwater has dissolved minerals in the brickwork and carried them to the surface.
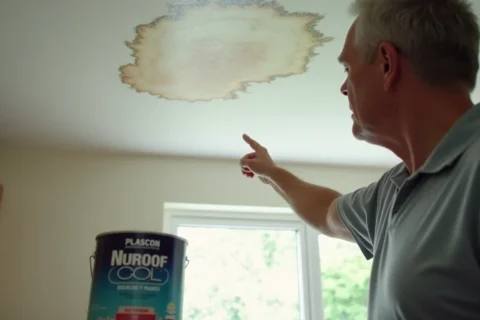
Height alone is not conclusive. A leaking pipe inside a wall can produce localised blistering at any level, often near bathrooms, kitchens, or where external taps penetrate the facade. Penetrating damp from failed exterior waterproofing or damaged roof flashing tends to appear as irregular patches, higher up, frequently worse after heavy rain. Condensation breeds black mould in corners and behind furniture, thrives in winter when warm, moist air meets cold surfaces, and carries a musty smell that rising damp usually lacks.
Seasonality is your second clue. If the staining worsens during Cape winter rains or KZN summer downpours, suspect penetration from outside. If the issue flares in July when windows stay shut and heating is erratic, condensation is the more likely culprit. Constant damp with no seasonal variation points to a plumbing leak or a bridged damp-proof course.
Check the Ground Outside
The most common and most ignored cause of apparent rising damp is not failed DPC at all. It is the garden bed, the paved patio, or the concrete driveway that some previous owner raised above the internal floor level. SABS 0400-T specifies that external ground should sit at least 150 millimetres below the DPC and the interior slab. When soil or paving breaches that gap, moisture travels laterally into the wall above the protective barrier. The DPC is intact and irrelevant because water has found a route around it.
Walk the building perimeter. Note where downpipes discharge, whether gutters overflow in a storm, and whether flower beds have crept upward over years of mulching. Blocked gutters do not merely spill water; they saturate the wall directly below, and that saturation migrates inward through any crack or failed pointing. A wall that reads as rising damp on the inside may simply be drinking from a blocked valley gutter on the outside.
Map the Moisture
Visual inspection separates likely causes. A moisture meter removes the guesswork. For a systematic survey, use both pin-type and pinless devices. The Protimeter Mini, a pin-type meter available through most SA tool suppliers, gives precise readings at the surface and just below by measuring electrical resistance between two inserted electrodes. It leaves small holes, so it suits targeted investigation rather than broad scanning. For initial surveys across large wall areas, the Tramex ME5 or the pinless mode on a Protimeter Surveymaster reads capacitance changes up to 30 millimetres deep without surface damage.
Take readings every 200 millimetres vertically through the affected zone, and horizontally across its width. Then take comparison readings from a known dry wall in the same building, ideally the same construction type and orientation. A rising damp profile shows highest moisture at the base, declining steadily upward to a sharp cutoff. A leak produces a spike that does not respect the normal capillary curve. Condensation gives more uniform surface readings without the deep gradient of groundwater ingress.
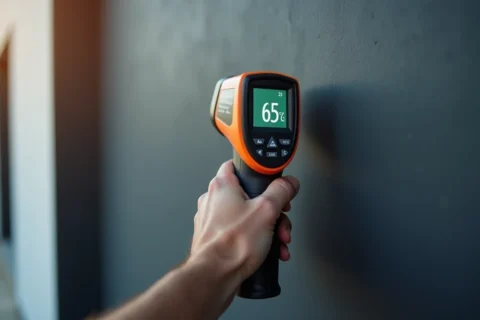
Thermal imaging adds another layer. A FLIR C3-X or comparable camera reveals evaporative cooling on damp surfaces, making hidden patterns visible. The technique works best in conditions of temperature differential, early morning or late afternoon, when the building has been heating or cooling for several hours. A damp specialist conducting a full assessment will typically combine thermal mapping with meter readings and produce a moisture map that documents extent and probable pathways.
When the Source Hides
Some damp sources defeat even careful amateur diagnosis. Intermittent leaks in pressurised pipes, moisture tracking along steel reinforcing from a distant breach, or the interaction of multiple failure modes require professional intervention. Call a damp specialist when the pattern does not fit a single clear cause, when damp returns after apparent repair, or when structural symptoms appear: cracking, bowing, or timber decay in adjacent joinery.
A competent specialist should deliver more than a verbal opinion. Expect a written report with photographic evidence, a moisture map, identified sources with reasoning, and specified remedial actions. That might mean chemical DPC injection for genuine rising damp, replacement of salt-contaminated plaster with a sulphate-resistant render, or simply lowering external ground levels and installing French drains. Reputable operators in the major metros typically warranty their remedial work for ten years or more. The report also protects you against contractors who would sell a full damp-proofing system when the actual fix is a R200 gutter repair.
The Paint Comes Last
Only after the moisture source is eliminated and the wall has dried to acceptable levels should paint enter the conversation. Even then, preparation is specific. Salt-contaminated plaster will continue to effloresce through any coating unless the surface is stripped back to sound material or sealed with a dedicated salt-resistant barrier system. Standard PVA, whether Plascon Wall & All or Dulux Trade, is not designed to withstand active salt migration. Applying it over lingering damp is not painting; it is creating a future failure with better initial aesthetics.
For previously affected areas, consider a breathable masonry paint that allows residual moisture vapour to escape while resisting liquid water penetration. Products like Plascon Micatex or Dulux Weatherguard, properly specified for the exposure, outperform standard interior PVA in recovery situations. But no paint, at any price point, substitutes for a dry substrate.
The foreman’s rule is simple: two hours with a moisture meter and a torch outside beats two days with sandpaper and a brush inside. The paint job you save will be your own.