
You will spend three weekends choosing between Italtile’s Avorio and Stiles’ Calacatta lookalike. Someone else, six months earlier, decided whether to lap the plastic sheet under your slab by 150 millimetres or 200. That second decision will outlast every surface you agonise over.
Rising damp from below ground accumulates gradually. A decade after occupation, your engineered oak starts cupping at the edges. The MDF skirting swells into something you can dig apart with a fingernail. Paint blisters in a horizontal band exactly where the plaster meets the floor, never higher, never lower. This pattern is so consistent across Gauteng, KZN and the Cape winter belt that experienced finishing contractors diagnose it in seconds. The cause is not a burst pipe, failed flashing, or a cracked gutter. It is moisture drawn upward through the concrete itself, through capillary pores that exist in every slab, because the barrier beneath was punctured, short-lapped, or never specified at all.
How moisture reaches your finishes
Soil beneath a building holds moisture constantly, not only after rain. Groundwater, irrigation runoff, and seasonal water tables keep the subgrade damp year-round. Concrete behaves like a dense sponge. Water molecules adhere to the internal surfaces of the slab’s capillary network and draw more water upward against gravity. The process continues indefinitely if the source remains wet and the path remains open.
A correctly installed damp-proof membrane interrupts this. SABS 0400-J, which governs floor construction under the National Building Regulations, requires ground-supported slabs to block moisture penetration to the interior. The mechanism is a continuous sheet of polyethylene, minimum 250 microns thick per SABS 1521-1, placed on a smooth blinding layer directly beneath the slab. The sheet must extend across the entire footprint, lap at joints by at least 150 millimetres (200 millimetres is better practice), seal with compatible tape or mastic, and connect with the wall’s damp-proof course to form a complete envelope.
When this sheet fails, the route is predictable. Moisture enters the slab base, travels through the full depth, and evaporates at the surface where it meets the screed, adhesive, and finish materials. The evaporation front is typically concentrated at the slab perimeter and at cold joints, which is why damage appears first at skirtings and along external walls.
What failure looks like on site
The visual signature of rising damp from below is distinct from plumbing leaks or rain penetration, and misdiagnosis costs money.
Plumbing leaks are localised. They appear rapidly, often with a sewage or stagnant water smell, and radiate outward from a specific point such as a toilet bend or kitchen waste line. Rain penetration tracks with weather events, damages higher on walls, and correlates with external defects like cracked coping or failed window seals.
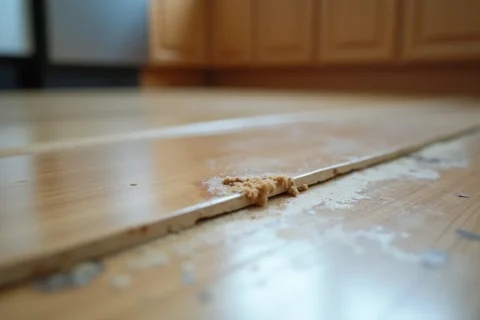
Rising damp from a failed DPM behaves differently. It is gradual, widespread across ground-floor areas, and strictly horizontal in its early stages. The moisture carries soluble salts from the soil and cement matrix. As evaporation occurs at the surface, these salts crystallise into the white powder known as efflorescence. This deposits on grout lines, at the base of walls, and across the lower faces of skirtings.
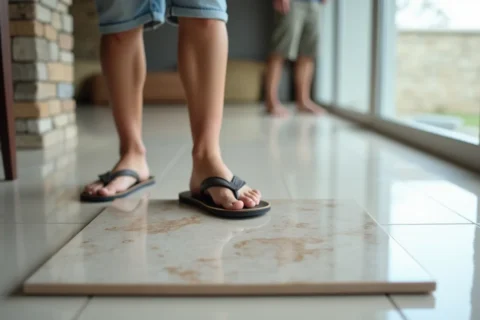
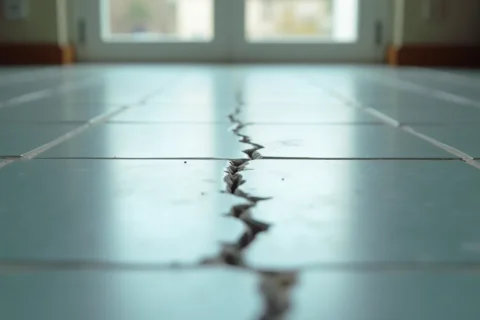
Paint fails by losing adhesion to damp plaster, blistering and flaking in a band that rarely exceeds one metre in height. Timber skirtings absorb moisture through their hidden lower edge, swell, and rot. MDF, increasingly specified for cost reasons, simply dissolves into a fibrous pulp. Laminate flooring delaminates at the locking joints. Engineered wood cups as the underside expands faster than the sealed surface. Tiles may sound drummy as adhesive softens, though this is a later-stage symptom.
Mould follows within months of sustained damp. The musty odour and black or grey patches appear behind furniture where air circulation is poorest, compounding the health concerns that Part J was written to prevent.
Where the membrane fails
Construction sites defeat DPMs in predictable ways. The blinding layer, typically 50 to 75 millimetres of compacted sand or lean concrete, exists to provide a smooth surface free of sharp aggregate. When it is omitted or poorly compacted, the polyethylene sits directly on stone that punctures during concrete pour. Rebar chairs, dropped tools, and boot traffic before the slab cast all create perforations that go unobserved.
Lapping is the other major failure mode. Two sheets of 250-micron polyethylene meeting edge-to-edge with a 50-millimetre overlap and no taped seal constitute a direct channel for moisture. The same occurs where the floor DPM fails to meet the wall DPC, leaving a gap at the slab perimeter that capillary action exploits immediately. Service penetrations for soil pipes, conduits, and electrical ducts are rarely detailed with sealed collars; instead, the sheet is cut and left gaping around the pipe.
Older buildings used bituminous felt or sub-standard PVC that degrades through chemical interaction with soil constituents. Modern polyethylene is more durable but not immune to UV degradation if left exposed for extended periods during construction delays.
The cost of fixing what you cannot see
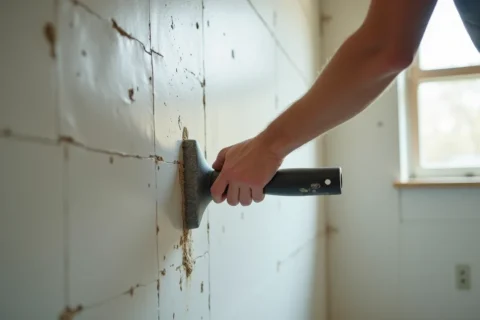
Remedial work on a failed DPM is among the most expensive defects in residential construction because every finish layer must be stripped to reach the problem.
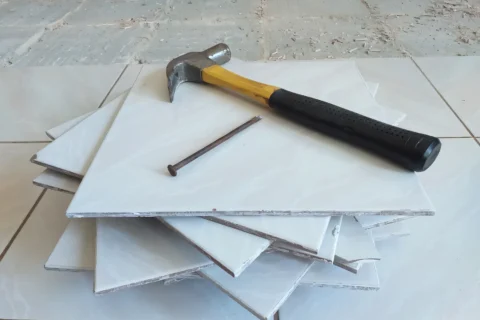
For a typical 30-square-metre living area, the sequence runs as follows. Remove all floor finishes, whether tile, laminate, or carpet. Break out the screed. Cut and remove sections of the concrete slab sufficient to expose the failed membrane. Excavate the compromised DPM, remediate or replace it, and restore continuity with the wall DPC. Pour new concrete, cure it, apply new screed, and reinstall finishes.
Material and labour costs for this sequence, excluding the visible finishes themselves, range from R500 to R1,500 per square metre depending on slab thickness, access constraints, and whether the sub-base also requires remediation. A single open-plan ground floor can exceed R75,000 before the homeowner selects a single replacement tile. Occupants typically must vacate for weeks. Dust, noise, and unforeseen complications like damaged sub-base or concealed services extend timelines and budgets.
Compare this to the cost of correct installation during construction. A 250-micron polyethylene DPM from any major supplier costs cents per square metre relative to the slab. The blinding layer is standard practice for any competent earthworks contractor. The labour of lapping, taping, and inspecting adds perhaps a day to the programme. The defect that destroys your finishes years later is prevented by work that represents a fraction of one percent of the build cost.
What to specify and verify on site
For homeowners building new, for builders supervising multiple sites monthly, and for designers writing specifications that others will execute, the following checklist addresses the common failure points.
Specify SABS 1521-1 compliant polyethylene, minimum 250 microns. For sites with aggressive ground conditions or historically high water tables, specify reinforced or multi-layer membranes at greater thickness. Do not accept builder’s off-cuts or unbranded sheeting.
Demand a prepared blinding layer, level and free of stone larger than 20 millimetres, before DPM placement. Photograph this stage. The membrane cannot be inspected once concrete covers it.
Require 200-millimetre laps at all joints, taped with manufacturer-compatible jointing tape, not generic duct tape. Specify that the floor DPM must extend 150 millimetres up perimeter walls and connect with the DPC, with the overlap direction shedding moisture outward.
Detail all service penetrations with sealed collars or approved mastic, not cut-and-hope. Protect the installed DPM from subsequent trades with a sacrificial layer of geotextile or sand before rebar and concrete placement.
Conduct a visual inspection immediately before the slab cast. This is the last opportunity. Any puncture, unsealed lap, or gap at the wall junction must be repaired and re-inspected. Document with photographs for the building file.
The finishes you select, the brands you specify, the R-per-square-metre you negotiate with your tiler, all assume a dry substrate. That assumption rests on a plastic sheet installed in a trench, in the rain, by a subcontractor you never met, before you owned the property. Verify it, or repair it.