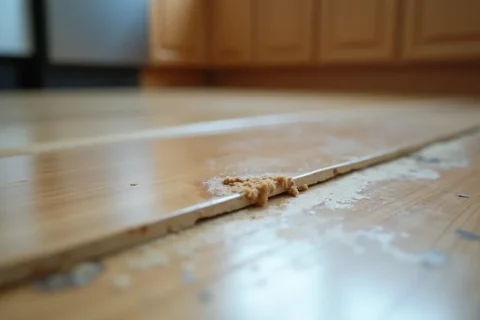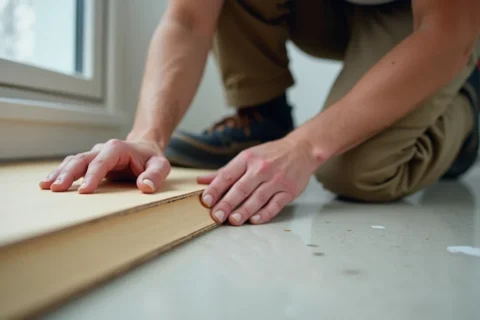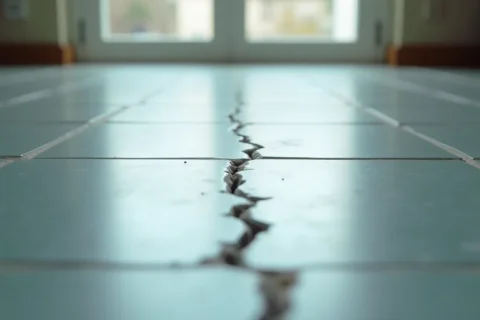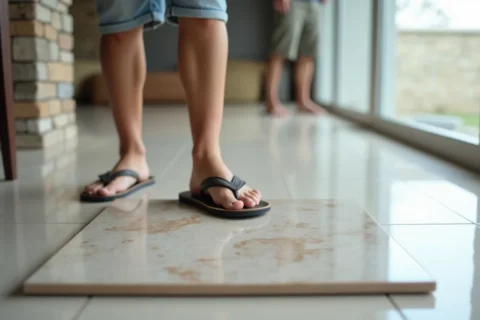

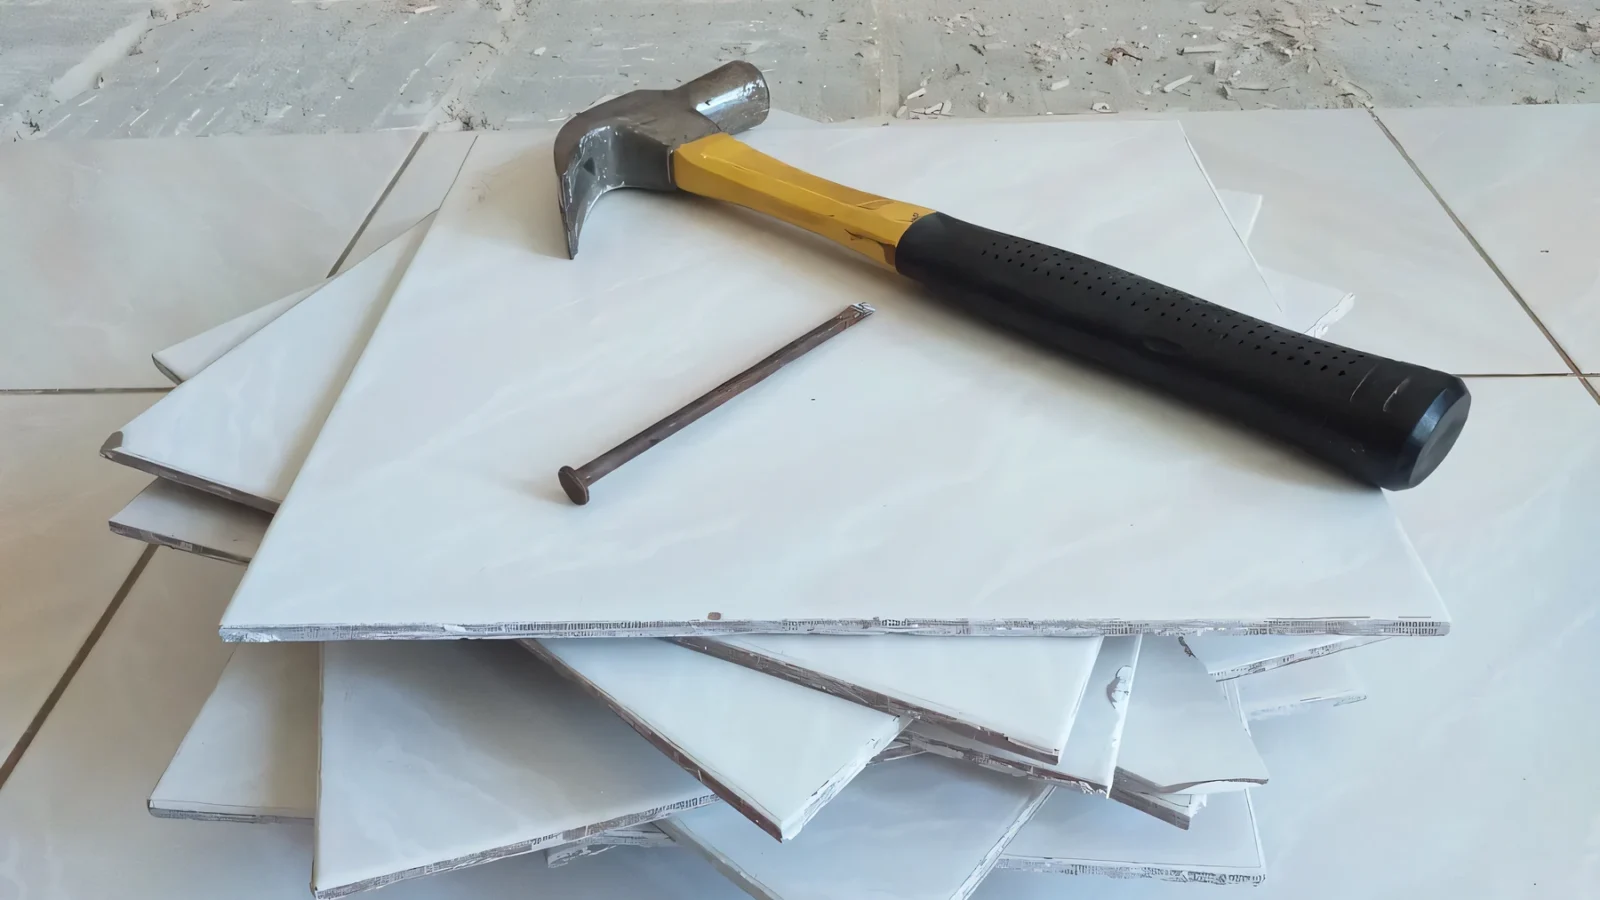
A single hollow tap does not mean a floor has failed. It usually means the tile is not fully supported somewhere, or the structure beneath it is adding its own noise. That sound can come from incomplete adhesive contact, a void under the tile, a screed defect, or simply the way a larger porcelain tile rings compared with a smaller ceramic one.
Do not hear one drummy note and declare the whole room suspect. A hollow sound is a warning. It points you to an area that deserves proper inspection, especially if the tile is sitting over poor coverage, a weak bond, or a substrate that moves more than it should. Left alone, those weak spots can turn into cracked corners, loose edges, popped tiles, and impact damage from a dropped mug or a chair leg.
What the sound usually means
A tile sounds hollow when the bond underneath is interrupted. The adhesive may have been spread too thin, left with air pockets, or never collapsed properly when the tile was pressed into place. Spot bonding does this often, especially on bigger formats where a few dabs of glue at the corners or center leave too much empty space. The trowel choice also matters. A notch that is too small for the tile size will not leave enough bed thickness to achieve good contact.
The slab or screed can also be part of the problem. A floor that has a change in construction, a weak patch in the screed, a hollow-core slab, or even a timber base with movement can change the way sound travels. Sometimes the floor is telling you about the substrate, not the tile. Large tiles can make that harder to read because their denser bodies and wider spans often ring more clearly than small-format tiles, even when the install is acceptable.
Under SABS 10107:2011, tile fixing is supposed to achieve minimum adhesive coverage targets, commonly 80% in internal dry areas and 95% in wet or external areas. If the coverage falls well below that, the tile may stay in place for a while and still be badly supported. A floor can look fine until the first heavy knock, the first season of heat, or the first bit of movement in the slab.
Where to tap first
Do not test one square and treat the result as gospel. Tap across the floor in a pattern and compare what you hear. Start near the center of the room, then move to the edges, grout intersections, perimeter cuts, doorway transitions, and any place where the substrate changes. Keep an ear on tiles near columns, drains, movement joints, and places that get hotter in the afternoon sun. Those areas often behave differently from the middle of the room.
Use the same tool for each tap, whether that is a coin, a screwdriver handle, or a small spoon. The goal is comparison, not violence. A firm, dull knock usually suggests good support. A sharper, more resonant note suggests a gap below the tile. The pattern is most important. If one tile sounds off in the middle but solid at the edges, that points to partial coverage. If a whole run along a wall or a threshold sounds different, you may be looking at a layout issue, a movement joint problem, or a patch of substrate that was not prepared the same way as the rest.
Mark every suspect spot as you go. Chalk, painter’s tape, or a simple floor sketch will do. Write down whether the sound repeats in the same zone, whether it follows a line, and whether it concentrates around one batch of tiles. A one-off hollow note is a clue. A cluster of hollow notes in the same strip is evidence.
What the lifted tile should show
When one tile is clearly failing and you are ready to open it up, inspect both the back of the tile and the bed underneath. This is where the guesswork stops. Good fixing should leave an even transfer of adhesive and collapsed ridges, not isolated smears in a few spots. If you lift a tile and find bare patches, uncollapsed ridges, or neat little islands of adhesive with dry gaps between them, the tile was never properly bedded.
Look for dust, curing residue, loose screed, or contamination on the substrate. Any of those can stop the adhesive from wetting out correctly. If the tile back is clean in some areas and the substrate shows no corresponding transfer, you have found the weak point. On large formats, check whether back-buttering was used where it should have been. On wet areas and external work, poor coverage shortens the life of the floor.
A single lifted tile can answer a simple question: was this a sound bond or a patchy one. It cannot explain the whole room on its own. The sound test comes first and the physical inspection comes second. The spoon tells you where to look. The adhesive pattern tells you what happened.
When the floor is repairable and when it is not
If the hollow patches are scattered and small, individual replacement may be enough. If the weak sound runs through a large area, or if the tiles were badly underbonded across a whole room, patch repairs become expensive theater. The more widespread the poor contact, the more likely the floor will keep failing at the edges, around fittings, or wherever load lands hard.
For homeowners, that usually means one thing: do not let anyone dismiss the issue with a quick tap and a shrug. For contractors, it means documenting the pattern before anyone starts pulling up tiles. For designers, it means reading a hollow report as a durability warning, not as a cosmetic complaint.
What to specify on the next job
- Use the correct trowel size for the tile format.
- Demand full-bed coverage targets that match the area, with 80% as the floor for dry interiors and 95% for wet or external work.
- Ask for proper back-buttering on large-format tiles where required.
- Check that the substrate is flat, stable, and properly cured before tiling starts.
- Insist on movement joints at the right intervals and at structural changes.
- Reject spot bonding unless the product system explicitly allows it.
- Keep a sample tile and photograph the adhesive transfer if a dispute arises.
A hollow sound is the floor asking for a closer look. Treat it as an early warning, test the room in sections, and read the adhesive after the fact. That is how you separate a local bond defect from a genuinely troubled floor.