
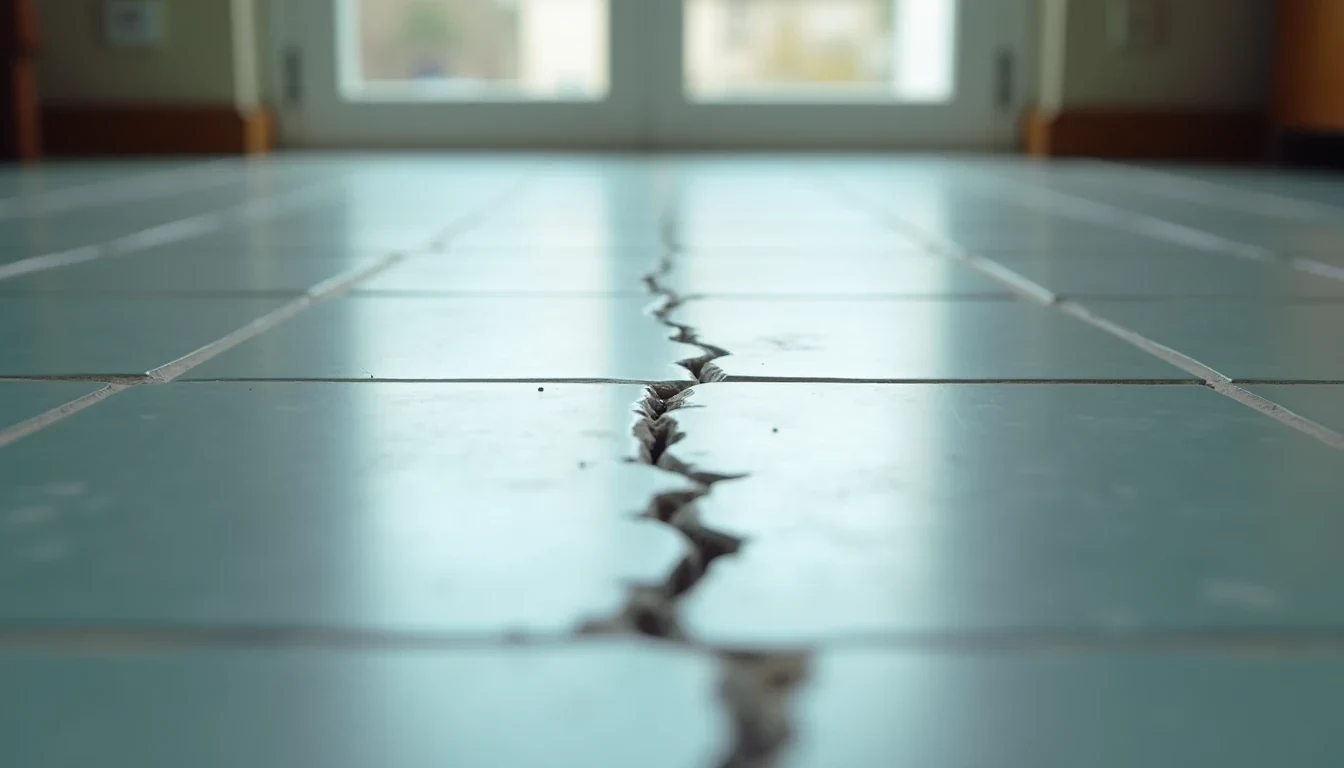
The neatest tiled floor is often the one most likely to fail. The owner sees one uninterrupted surface and calls it good. The slab under it does not care about the photo. It moves, the building moves with it, and sooner or later the floor chooses a weak line and opens there.
This usually happens at the doorway. Months after handover, the grout starts to split, a few tiles sound hollow, then a hump appears where the open-plan run crosses an old structural break. The client wanted no visible joints. The building answers by making its own.
The joint you cannot see is the one doing the work
Movement joints are not decorative gaps left behind by a careless tiler. They are deliberate breaks in a rigid finish so the slab can expand, shrink, settle, and flex without loading the tile layer until it cracks. Once grout fills every line and every bay is locked tight, the tiled surface becomes a single brittle sheet. A sheet like that has nowhere to relieve stress except through the tile body, the adhesive bed, or the weakest part of the bond.
Existing structural joints in the slab are not optional details. If a concrete slab already has a construction joint, control joint, or expansion joint, the tile finish must follow it. Covering it as if it were an ugly line to hide is how you buy a future crack. The building keeps the joint. The tile installer only decides whether it appears neatly, or whether it reappears later as a break across the finished floor.
South African conditions make the problem worse. Highveld temperature swings, damp Cape winters, humid KZN air, and long hot afternoons on sunlit floors all push and pull at the assembly. A 10 m span can move enough with temperature alone to cause problems, and concrete or screed adds its own moisture movement on top of that. The tile does not care whether the movement comes from weather, curing, or settlement. It only knows it has been trapped.
Where the floor needs to break on purpose
Perimeter joints are the first line of defence. A 5 to 10 mm gap around walls, columns, skirtings, and door frames gives the floor room to breathe. That gap gets flexible sealant, not cement grout. If the tiler grouts it solid, the edge becomes a pressure point and the tile field starts loading against the wall.
Field joints are the next layer. On an internal floor, bays should be kept to roughly 5 to 8 m in each direction. Outside, or where traffic and heat are harsher, the spacing needs to tighten to about 3 to 5 m. Doorways, corridors, and changes in floor geometry are obvious places to put them because stress concentrates there first.
The transition between different substrates needs special attention too. Concrete to timber, slab to suspended section, screed to a repaired patch: all of those are places where movement changes character. The tile layer needs an isolation joint at that transition or the hard finish will try to bridge two different types of movement and fail.
Large-format porcelain is the classic troublemaker here. It looks expensive, which makes it popular, and it gives very little warning before failure. A rigid, glossy floor spanning an open-plan living area can look flawless for months, then start to tent across a doorway because the slab underneath kept moving while the tile surface stayed locked. The owner sees a sudden defect. The floor has been negotiating for weeks.
What failure looks like when the floor runs out of room
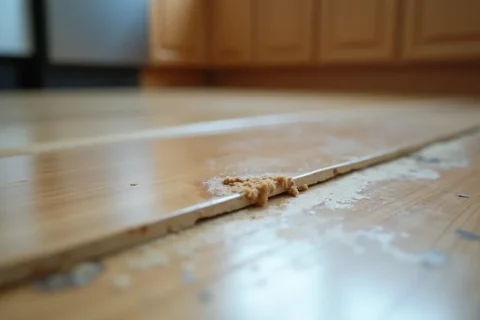
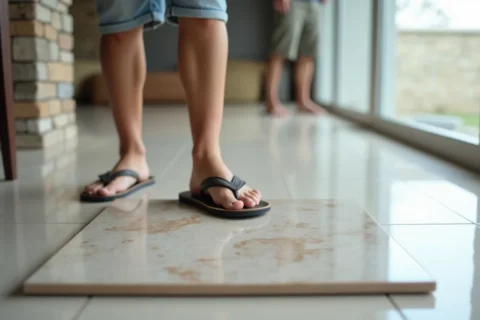
Tenting is the dramatic version. Tiles lift as compressive stress builds and the floor has nowhere to absorb it. You get a raised ridge, often with a hollow sound around it, and sometimes tiles pop loose hard enough to leave sharp edges and debris.
Cracking is the more common version. Hairline cracks show random stress. Wider cracks tend to mirror the line of the missed structural joint. Edge cracking shows up at walls and columns where the perimeter was not isolated properly. Grout often gives the first warning, because cement grout has no useful flexibility and it crumbles long before the tile gives up completely.
Delamination is the quiet failure. The floor sounds dead underfoot. Tiles go hollow, then loose. The bond has been sheared apart by movement the adhesive was never meant to absorb on its own. By the time the client notices, the finish is already lying about its condition.
There is also the practical mess nobody enjoys discussing at quoting time. A buckled floor can damage skirtings and door linings, interfere with cupboards, and create trip edges that turn a finish problem into a safety problem. If the affected area is small, a local repair can sometimes be done by lifting tiles, cleaning back to sound substrate, inserting the missing joint, and retiling. Budget roughly R500 to R1,500 per square metre for labour alone, before new tiles and consumables. If the tiles are discontinued or the damage runs through a large area, replacement stops being a repair and becomes a demolition job.
What to use when you want the joint to work
For perimeter joints and moderate movement, flexible sealants are the working tools. Soudal Fix All, Sika Sikaflex-11FC, and Den Braven sealants are common names in the trade. For heavier movement, structural breaks, or harder service conditions, products such as Mapei Mapesil AC and SikaFlex-1A are specified because they keep moving without turning brittle too early.
Backer rod is important because sealant depth matters. If the joint is packed solid with sealant, it cannot flex properly and it tends to fail by tearing or debonding. Closed-cell polyethylene backer rod sets the depth and stops the sealant sticking on three sides. That detail is boring until the first season change after handover.
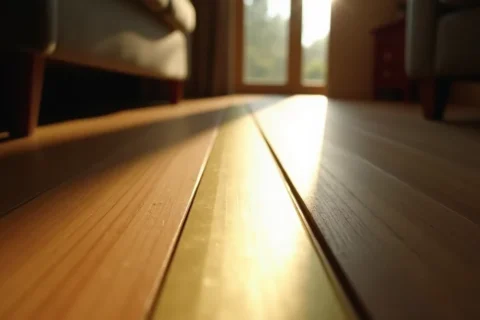
Movement profiles are another option where a cleaner edge is wanted. Schlüter-DILEX and Profilpas are the sort of aluminium, PVC, or stainless systems that can carry a field joint neatly across a visible floor. They are especially useful where the owner wants durability more than an invisible line, which should be most of the time.
The adhesive under the tile is not the solution to movement joints, but it still needs to be part of the specification. A polymer-modified flexible adhesive such as Tal Goldstar 6, Mapei Keraflex, or Dulux Tilebond gives the installation a bit more tolerance inside each bay. It does not let you ignore the joints. It just helps the floor survive normal service inside the bays that have been properly cut up.
What the drawing should show before anyone opens a bag of tile adhesive
The designer should mark perimeter joints, field joints, and every structural joint on the floor plan. Not as an afterthought, not as a site instruction scribbled in when the first crack appears, but on the drawing the client approves before tiling starts. The homeowner needs to see that a perfect photographic surface is not the same thing as a durable floor.
The builder and tiler need to walk the slab before work begins and look for breaks, substrate changes, and anything that was missed on paper. If the slab has a construction joint in the wrong place for the tile layout, the layout needs to change. If the owner insists on a seamless look, the honest answer is simple: the building gets a say too.
A proper pre-installation meeting saves more money than any clever product. It stops arguments later, when the floor has already chosen its own line of failure. It also gives everyone a shared answer to the same ugly fact. A tiled floor is not a slab of stone. It is a rigid finish laid over a structure that moves, and the structure will always win if the movement is ignored.
What to specify on the order
- Perimeter movement joints at 5 to 10 mm, filled with flexible sealant
- All existing structural joints continued through tile, adhesive, and finish
- Internal field joints at about 5 to 8 m intervals, tighter where heat or traffic is higher
- Joint locations at doorways, corridors, and substrate transitions
- Closed-cell backer rod sized for the joint depth
- A suitable flexible sealant such as Sika Sikaflex-11FC, SikaFlex-1A, Mapei Mapesil AC, or a comparable product
- Flexible adhesive such as Tal Goldstar 6, Mapei Keraflex, or Dulux Tilebond
- Movement profiles where a visible but durable joint is the cleaner answer
- A drawing that shows every joint before the first tile is laid