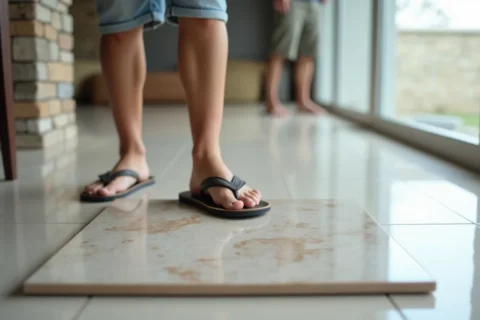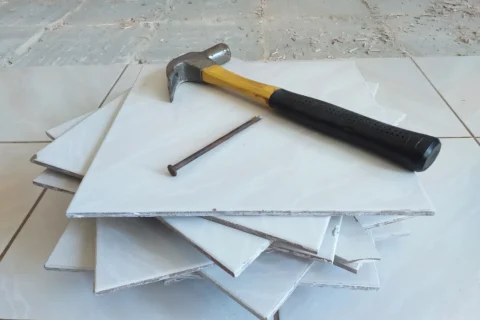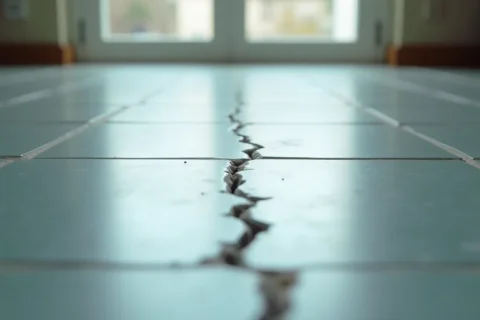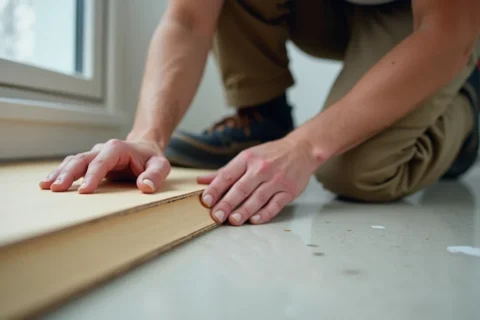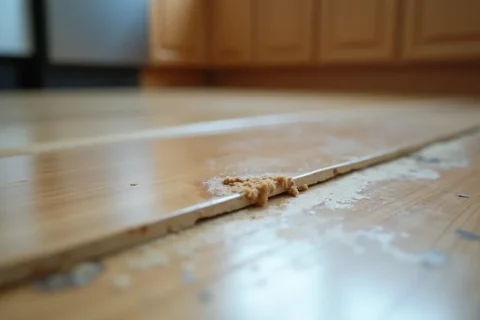

The sample board always looks innocent. The joints are tight, the faces are flush, and the 600 x 1200 porcelain sits there like it was born flat. Then the same tile goes on a real floor with a slab that is a few millimetres out, a bad offset, and adhesive that never makes full contact. By the time the room is finished, the edges are no longer reading as a line. They are reading as a step.
That is the trap with large-format porcelain. The bigger the tile, the less forgiving the job. A 1.2-metre tile is not four small tiles joined together. It has its own bow, its own weight, its own way of showing every defect in the base, and it will happily expose sloppy setting-out long after the sample board has impressed the client.
The board lies
A sample board is a controlled environment. The substrate is usually dead flat, the tiles are sorted, and the installer is working on a small area where every corner can be nudged into place. A finished floor is none of those things. If the slab humps in one corner, dips at a doorway, or holds moisture, the tile will telegraph it.
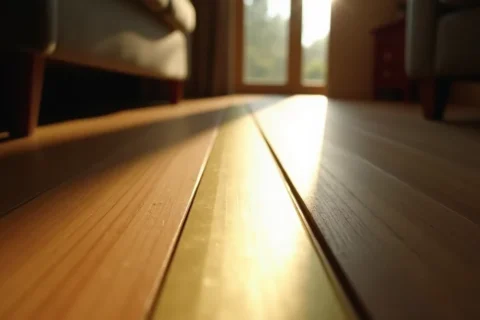
Large tiles demand a flatter base than smaller formats. SABS 10107:2011 allows a general deviation of 3 mm over 3 metres, but large-format work needs a tighter hand than that to keep lippage under control. On a serious job, the base should be checked with a 2 metre straightedge, a laser level, and raking light that skims across the surface. If the floor looks honest in raking light, it usually is. If it throws shadows and ridges at you, the tiles will too.
Concrete also needs time. A slab that is still curing, or a screed that is holding moisture, can ruin an installation even when the tile work itself is neat. Cementitious substrates need to be dry before tiling. Absorbent screeds usually need priming so they do not drink the moisture out of the adhesive before the bond has formed.
Bowing is built in
Large porcelain tiles are not perfectly dead flat. Some bowing is permitted by the manufacturing tolerances in ISO 10545-2. On a long rectangular tile, that slight curve can be enough to turn a visually clean floor into one with raised edges if the layout is careless.
The classic mistake is a 50 percent offset on a long tile. Put the middle of one bowed tile against the edge of the next and the high points start announcing themselves. Under daylight or low-angle lighting, the joint stops reading as a joint and starts reading as a lip. The tile is not defective in the way a cracked tile is defective. It is behaving exactly as a large fired ceramic body can behave. The layout is the problem.
For long tiles, 25 percent or 33 percent offsets are safer. Stack bond can also work well if the batch is consistent and the room suits the pattern. The offset has to respect the tile shape, not fight it.
Dry lay before you commit
A proper trial layout is where the job either gets saved or gets exposed. Lay out at least a 3 x 3 section, and preferably 4 x 4, in the actual room before adhesive goes down. Check the joints with a straightedge. Rotate suspect tiles. Swap them around. Look at the edges in the same light the finished floor will receive.
This is where you find the awkward tiles, the small warps, the slightly off dimensions, and the cuts that would have landed right in the centre of the doorway. It is also where you decide whether the room wants a stack pattern, a third bond, or something else entirely. If the client is present, this is the moment to get sign-off. Once the adhesive is mixed, the conversation is over.
Trial layouts also tell you whether the tile batch itself is clean enough for the pattern you want. Some boxes can be mixed freely. Some need to be grouped because the bowing or calibration shifts from piece to piece. A floor that looked perfect in the showroom can turn ugly when those differences are spread across a real room.
Adhesive choice is not a side detail
Large-format porcelain needs more than a standard tile adhesive. Look for a product classified to C2TES1 or C2TES2 under SABS and ISO 13007-1. That classification indicates the adhesive has improved bond strength, extended open time, and enough flexibility to cope with movement and thermal change.
Products in this category include Tal Goldstar 6 and Mapei Keraflex Maxi S1. For priming absorbent screeds, products such as Tal Bond or Mapei Eco Prim Grip are common on site. The label matters because dense porcelain does not absorb water the way a smaller ceramic tile does. If the adhesive skins over too quickly, or the bond is weak, you end up with hollow spots and movement you can hear when you tap the floor.
The trowel matters too. Large tiles usually need a bigger notch, often 10 x 10 mm or 12 x 12 mm square notch. The ridges should be combed in one direction so air can escape when the tile is bedded. If the adhesive is swirled into little islands, voids stay trapped under the tile. Those voids become weak points, and later they become cracked corners, drummy patches, or moisture pockets.
Back-buttering is not optional
Back-buttering is how you get coverage, and coverage is how you keep a large floor honest. A thin, even coat on the back of the tile helps the adhesive make full contact instead of bridging over ridges on the screed. On large floor tiles, you want coverage close to 100 percent. Anything much less starts inviting hollow spots and future failures.
This is where many installers cut corners and then blame the tile. The adhesive on the substrate is only half the story. The tile back has to be keyed as well, especially on dense porcelain with a tight rear surface. If the floor is carrying point loads, kitchen units, or heavy furniture, those empty pockets under the tile become the place where damage starts.
Levelling clips can help keep edges aligned while the adhesive cures, and they are useful on large floors. They are not a substitute for a flat slab or proper coverage. A clip can pull two edges closer together. It cannot flatten a hump in the screed. It cannot make an undersized adhesive bed fill a void. If the floor below is wrong, the clip system will only help you build a neater version of the same mistake.
Flatness beats persuasion
There is a habit on site of trying to solve base problems with skill and patience. That works until it does not. Large-format tile work is unforgiving because the tile has less ability to disguise an imperfect substrate. Small tiles can bridge tiny irregularities. Large ones expose them. The difference shows up as raised edges, hollow sounds, and joints that catch your foot when the light is right.
The correct sequence is boring and exact. Check the slab. Correct the flatness. Prime what needs priming. Dry lay the room. Choose an offset that respects the tile shape. Use the right adhesive. Comb the ridges properly. Back-butter the tile. Then check the finished area with a straightedge as you go.
What to specify on the order
- Large-format porcelain, with the exact tile size and batch number recorded
- Flatness to be checked before tiling starts, with the slab corrected where needed
- C2TES1 or C2TES2 adhesive suitable for dense porcelain
- Primer for absorbent screeds where required
- 10 x 10 mm or 12 x 12 mm notch trowel for the tile size
- Back-buttering on every tile
- Dry layout approved before full installation
- Offset pattern limited to 25 percent or 33 percent for long tiles
- Levelling clips used as an aid, not as a cure for a poor base
- Final flatness checked with a straightedge before grout is allowed to hide the evidence
A floor that looks flawless on a sample board can still fail in the room if it is treated like a standard tile job. Large-format porcelain needs a flatter base, a smarter layout, and more adhesive discipline. Ignore that, and the raised edges will show up first, usually in the worst possible light.