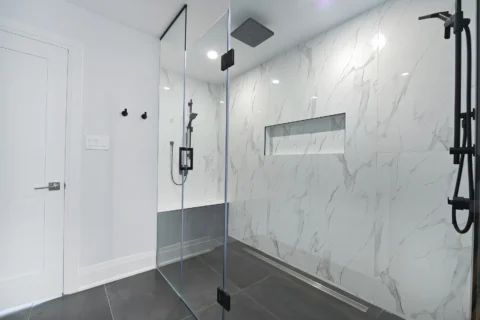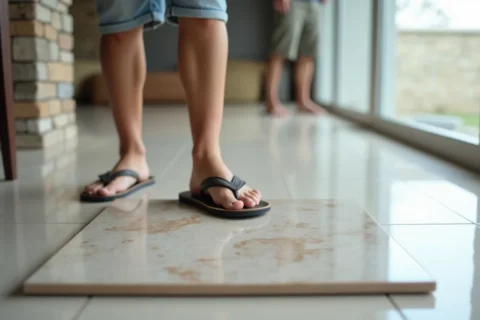

The downstairs ceiling reveals the lie. Upstairs, the shower looks expensive, with polished Italian porcelain and neat lines. Below, a brown stain spreads through plasterboard because water found the one place nobody bragged about on the snag list.
Tiles do not make a bathroom waterproof. They are the face of the job, not the system. Water gets through grout, cracked corners, pipe holes, and the drain detail long before anyone starts admiring the finish. That’s why a fully tiled shower can still leak into the room underneath.
The expensive tile was never the waterproofing
Italian porcelain is often treated like a guarantee. People pay for the brand, the look, the rectified edge, the clean joint, then assume the bathroom is sealed because the surface feels solid underfoot. This is a comforting, costly mistake.
The visible finish is only the top layer. In wet areas, the real work happens before the first tile goes down. The slab or screed must be prepared properly, the falls must drive water to the drain, the membrane must be continuous, and every corner and pipe penetration must be detailed before tiling starts. Miss any of that, and water will follow the weakest path.
South African building requirements treat bathrooms, showers, laundries, kitchens, and toilet areas as wet areas, not decorative zones. This means the structure beneath the finish must resist moisture ingress. Tiles can help the room cope with splashes, but they cannot be trusted as the waterproof barrier.
Where the leak actually starts
A newly tiled shower that stains the ceiling below has usually failed in one of a handful of places. The ugly part is that the failure is often hidden from view until the damage is already underway.
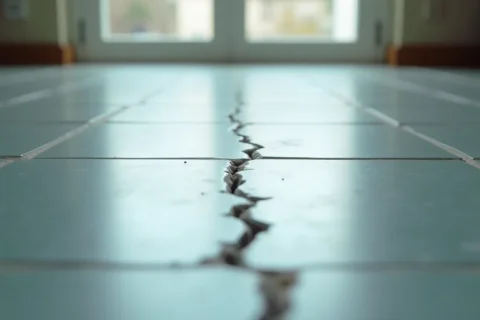
Grout is one of the usual suspects. Cement grout is not a waterproof skin, and even well-packed joints can crack with movement, shrinkage, or poor workmanship. Corners are another weak point. Wall-to-floor junctions move, especially in a shower where temperature changes, structure, and daily use all work the assembly. If those corners were not reinforced with the right tape or bandage inside the membrane system, they open up.
Pipe penetrations are worse than they look. Every mixer outlet, shower arm, and fitting that passes through the wall creates a hole in the waterproof layer. If that hole was not sealed with proper collars or a compatible membrane detail, the pipe becomes a track straight into the wall cavity.
Then there is the drain. Many homeowners never see this part because it sits under the tile and under the assumption that someone else sorted it. If the membrane was not correctly connected to the drain body, water can bypass the outlet and soak into the screed or slab instead of exiting the shower.
The part nobody photographs
The owner sees the tile. The foreman sees the membrane, the falls, the drain flange, and the corner treatment. These are the parts that decide whether a shower survives its first winter.
A proper shower build starts with a clean, sound substrate. Dust, loose material, oil, and cracked screed all make a better bathroom fail faster. Any damage in the base must be repaired first, and the surface should be primed if the chosen membrane system calls for it.
After that comes the fall. The floor must slope toward the waste so water does not sit and stew on the surface. A minimum fall of 1:80 is the usual starting point; larger or walk-in showers often perform better at about 1:60. If the floor looks flat to the eye, it is probably wrong. Standing water on a shower floor is the opening scene of a leak, not a design feature.
The membrane follows, and it must be continuous. Whether it is a liquid-applied system or a sheet membrane, the result must be pinhole-free, fully bonded, and built exactly to the manufacturer’s specification. Internal corners, wall-to-floor joints, and movement joints need special treatment before or during the membrane application. Pipe collars need to sit neatly around every penetration. The drain detail needs to be integrated properly, not improvised with sealant and optimism.
The unphotographed work keeps the downstairs ceiling dry.
What the rules are trying to prevent
Building rules exist for a simple reason: leaks do not stay polite. Moisture that gets into the structure can stain ceilings, rot timber, damage finishes, and turn a new bathroom into an insurance argument.
SANS 10400 sets the broad expectation that buildings should be designed and built to keep out moisture that can damage the structure or create unhealthy conditions. SANS 10107 deals with tiling application, but it does not make the tile itself a waterproofing system. That distinction matters because too many bad bathroom jobs confuse a nice finish with a working assembly.
NHBRC guidance follows the same logic in more practical language. Wet areas need proper waterproofing, proper drainage, and proper detailing. If a builder skips the membrane or rushes the drain connection, the fact that the tiles came from a premium Italian range does not change the outcome.
How to check the job before the tiles go on
Once the tiles are down, you are paying to uncover a mistake instead of catching one.
The first check is visual. The membrane should look consistent across the shower area, with no gaps, cracks, thin spots, or missed corners. Every pipe penetration should be sealed properly. The drain interface should look deliberate, not patched.
The second check is the fall. Pour a small amount of water and watch where it goes. It should move cleanly to the drain without lingering in low spots. If it hangs around, the screed needs attention before the bathroom gets any further.
The third check is paperwork. The installed system should match the manufacturer’s technical data sheet. That means the right product, the right number of coats, the correct thickness, and the correct curing time before tile adhesive is introduced.
The final check is the one people skip when they are in a hurry: a flood test. Block the drain, hold water in the shower tray, and leave it long enough to expose a weakness. If the room below stays dry, you have a chance of sleeping at night. If it does not, the problem is still cheap enough to fix.
Photographs matter too. Once the membrane is covered, the evidence disappears. If there is a dispute later, the only thing more useful than a proper sign-off is a set of clear stage photos showing the membrane, corners, collars, and drain detail before tiling.
What it costs to do properly
A correctly installed waterproofing system for a standard shower is not expensive compared with the cost of the bathroom. It is laughably cheap next to repair work after a leak.
Around July 2026, a reasonable South African benchmark for materials on a typical shower sits roughly between R1,500 and R3,500, depending on the membrane system, primers, tapes, and sealants used. Skilled labour for the waterproofing layer usually adds another R2,500 to R5,000, with more complex showers or awkward detailing pushing the number higher. The full package for a professional job often lands around R4,000 to R8,500.
That is not the place to shave money.
What to specify on the order
If you are a homeowner, builder, or designer signing off a shower, make the spec say more than “waterproofed”.
Ask for a complete shower waterproofing system, not just a membrane product. Require falls to the drain, not a flat screed. Require treated corners, not silicone as a rescue plan. Require sealed pipe penetrations and a proper drain connection. Ask for the membrane manufacturer’s installation data, and make flood testing part of the handover.
Then remember the part that caused the damage downstairs. The leak did not come through the porcelain. It came through the detail nobody thought to photograph.